Stock Market 101: Roasted Chicken Stock
...featuring chicken feet (now that's what I call nose-to-tail)
Making broth/stock can feel intimidating. It means dealing with internal meat temperatures, bones, hours of cooking time, and a really messy kitchen. It seems labour-intensive, expensive, and easy to mess up (how I imagine child-rearing to be).
This new series is here to help you grow your stock portfolio and prove that it’s not only easy but also delicious and endlessly rewarding if you roll up your sleeves and give it a go. The best cooking comes through curiosity and confidence in the kitchen (the latter of which is built by leaning heavily into the first) - and time. To make a complex and full-bodied stock, you’ll need several hours, so I like to save this activity for lazy Sunday afternoons or lone evenings spent at home.
First off: what’s the difference between broth and stock?
Mr. Google says: stock is generally made from bones, and broth is generally made from flesh. Well then, what is bone broth??? Bone broth is technically stock, as it’s made using bones, but it is cooked for 24 hours. The world of broth and stock is unnecessarily confusing - probably Big Broth™️ trying to keep you buying the pre-made stuff rather than making your own. No more!
Why should you care?
Besides being delicious, bone broth is very good for you. It's loaded with collagen and gelatin, secret superheroes for your body. Collagen is a protein that helps keep your skin looking young and plump, helps your joints stay greased up, and can help soothe your gut lining. Gelatin, aka collagen's sidekick, helps with inflammation and repairing connective tissues. Sipping on bone broth regularly not only tastes great, but it also uses up bits you might throw away (the chicken carcass & herb ends), AND it gives your body a boost of essential nutrients for glowing skin, happy joints, and a healthy gut. It can also be customised to your liking, by experimenting with different aromatics and herbs.
We’re kicking off with chicken stock because it goes well with everything - its flavour is subtler than beef stock and it’s the perfect foundation for all kinds of soups (and fantastic on its own, sipped out of a mug). It also boasts medicinal properties:
The Egyptian Jewish philosopher physician Maimonides prescribed the broth in the twelfth century as a curative for respiratory illnesses—a recommendation that was backed up in 2000 by research at the University of Nebraska Medical Center showing that chicken soup can indeed slow inflammation associated with colds and flu. (NEH.GOV)
There are a few methods when it comes to chicken stock. You can use a whole raw chicken. You can use just wings. You can use just feet! All of these methodologies have slightly different steps, and I’ll go over them in future newsletters - today we’re using just leftover bones from a roasted chicken (featuring some optional chicken feet).
If you’re a chicken roasting aficionado, feel free to skip the first parts. Below I’ll be sharing how to stretch one chicken (or a bunch of chicken parts, as I did) into two delicious, healthy, and nourishing meals, taking advantage of every last bit of the chicken. I also tried cooking with chicken FEET for the first (but certainly not the last) time ever. I know that many might find chicken feet gross, but nutritionally speaking they’re a real wonder ingredient - and call me old fashioned, but I vehemently believe that we should all do our best to waste as little as possible when we consume animal products!!!
If I may, I would suggest cooking Part 1 (the roast chicken), Part 1a (the crispy chicken skin), and Part 2 (the juicy roasted vegetables) for Sunday lunch or dinner, Part 3 (the stock) overnight, and Part 4 (the assembled soup) for a nice and light Monday lunch. This obviously works just as well on any other day, but Sundays lend themselves nicely to extended cooking sessions.
Part 1: The Roasted Chicken
Before we begin: please do try and ensure you choose a good, happy chicken - ideally free-range / pasture-raised. Not only will it taste better, but you will also feel better, and the world will be better off. When in doubt, cook/eat good chicken once a week rather than bad chicken every day (moderation etc.)
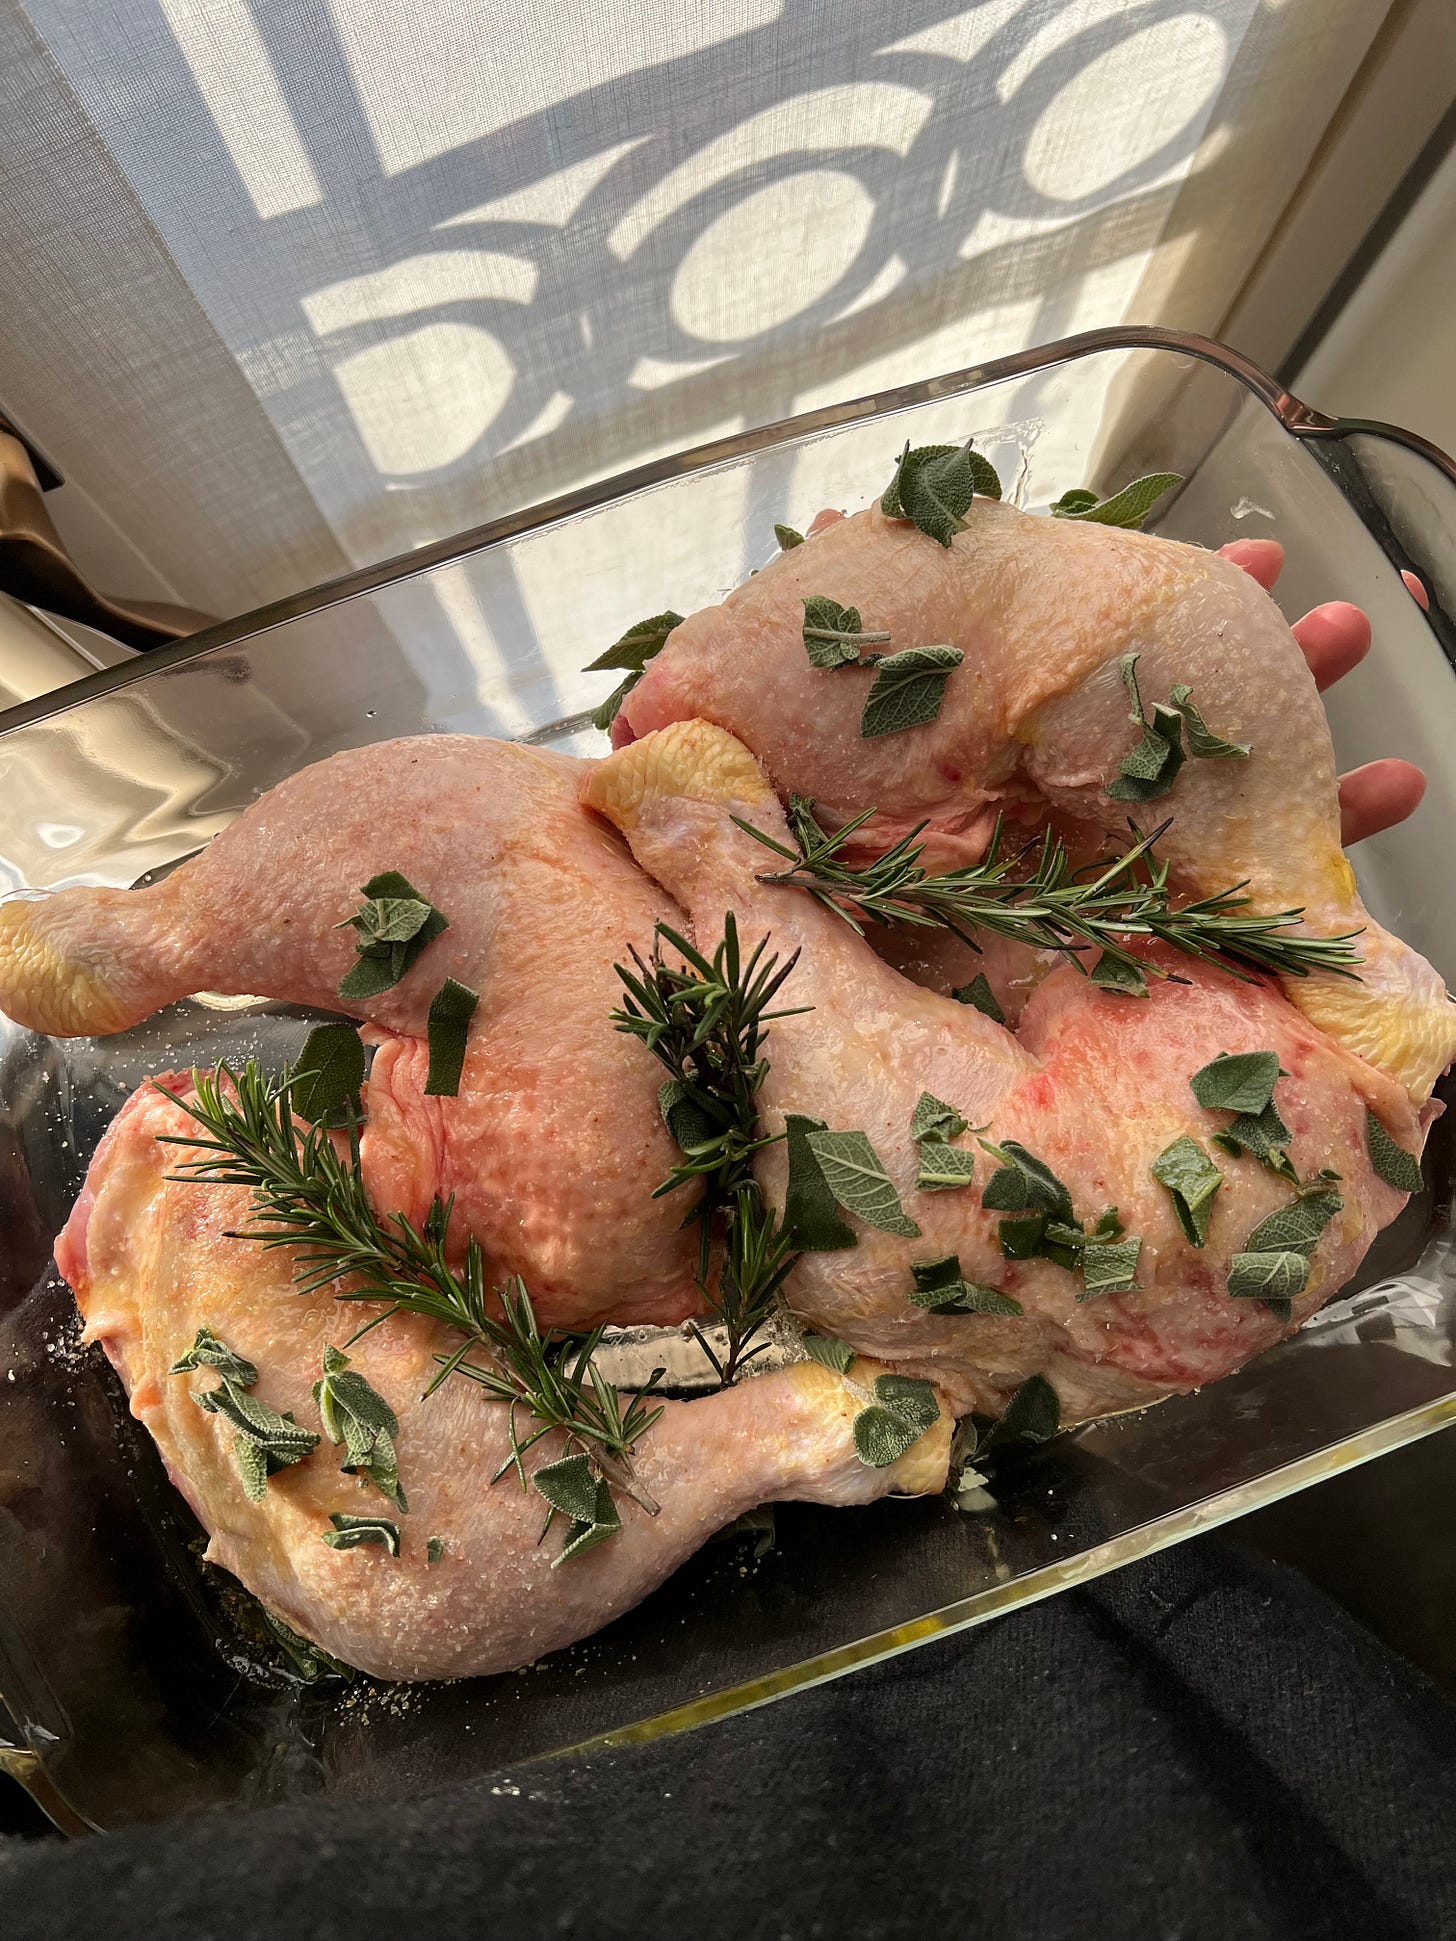
As you can see, I didn’t use a whole chicken here, but rather 4 chicken legs. The dark meat is juicier than white breast meat, and it’s what I had on hand this day. Also, fun fact: because it has more connective tissue than white meat, dark meat becomes more tender the hotter the internal temperature gets, ie. the longer you cook it. You can absolutely use a whole chicken - if you do, I recommend spatchcocking it, which, besides sounding very fun, helps the chicken cook more evenly.
Per my last newsletter on the topic of kitchen gadgets, I recommend investing in a meat thermometer. It will make all future meat-cooking endeavours so much more successful, and it will open you up to a new world of previously intimidating recipes. At least, that’s what my 9 Euro thermometer did for me. You can also go for a fancy smart thermometer that connects to an app, if you like!
Ingredients
1 whole chicken, spatchcocked OR 4 bone-in, skin-on chicken thighs
A generous pinch of salt and freshly ground black pepper
A drizzle of olive oil or a few spoons of softened butter
1/2 a leek, chopped finely
2 sprigs of rosemary
A few sage leaves, chopped up
Preheat your oven to 200C / 400F and set aside a medium-sized baking tray
Pat the chicken or chicken thighs dry, then drizzle with olive oil or brush with softened butter. Sprinkle on the salt and pepper and use your hands to rub it in well. You can season the chicken however you like here - use your favourite spices or just go super simple with salt and pepper.
Place the chopped leek, rosemary sprigs, and and sage leaves on top
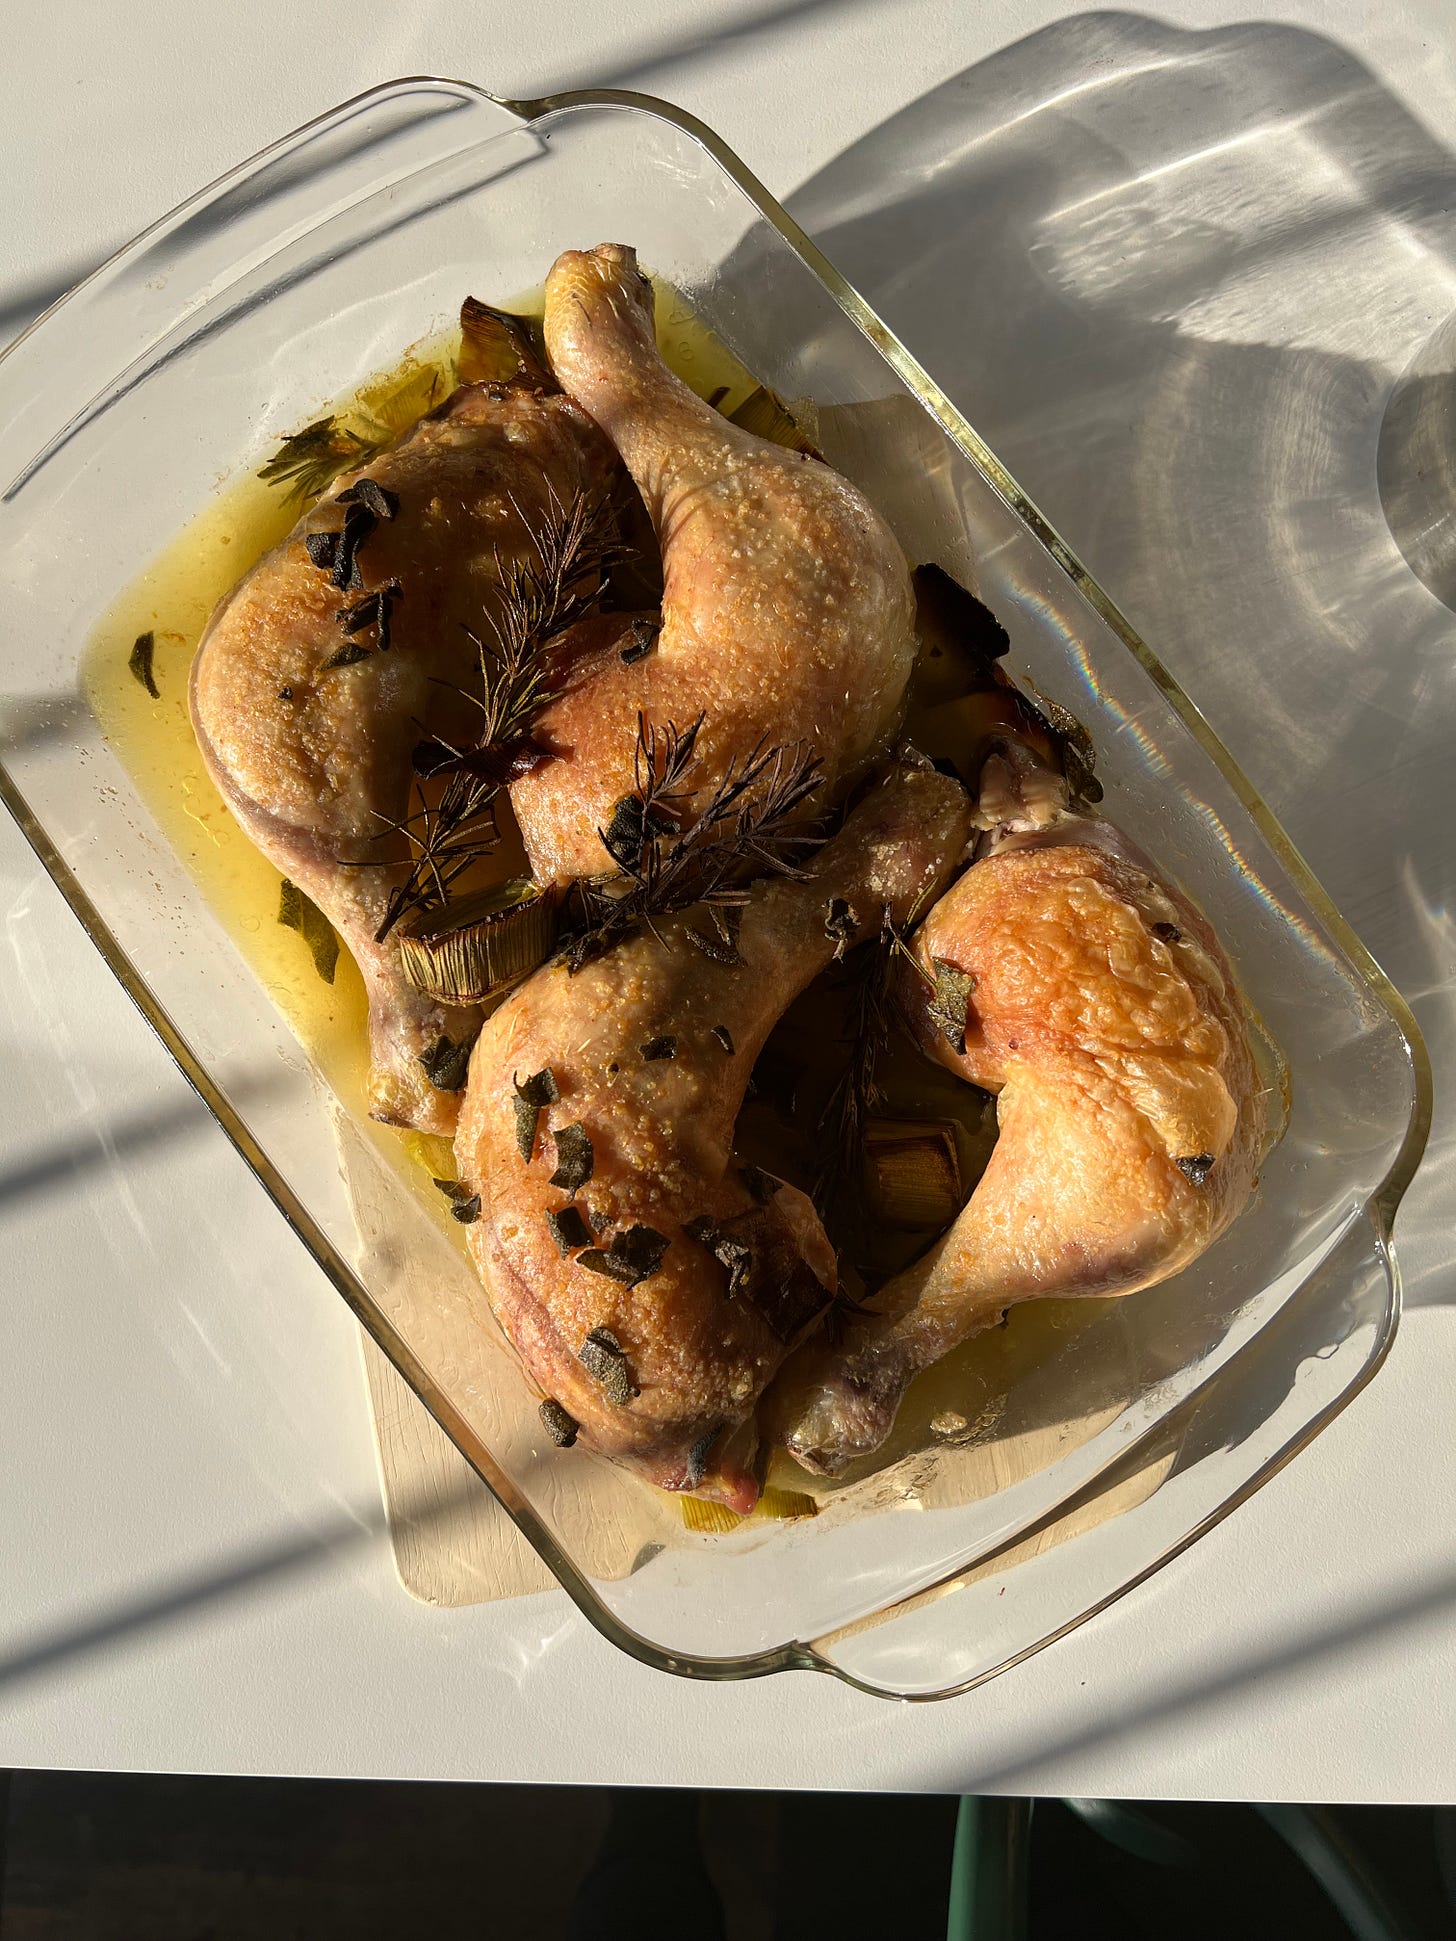
Roast in the oven for about 45 minutes, until the internal temperature reads around 80C / 180F (if cooking thighs) or 74C / 165F (for the whole chicken -in this case,measure the innermost part of the thigh and the thickest part of the breast). Remove from the oven (but don’t turn off the oven!) and let the chicken rest for about 10 minutes.
Carefully remove the skin from the chicken, and set aside. Then, separate the meat from the bones and set both aside. Keep the tray with the rendered chicken sauce - don’t throw anything away!
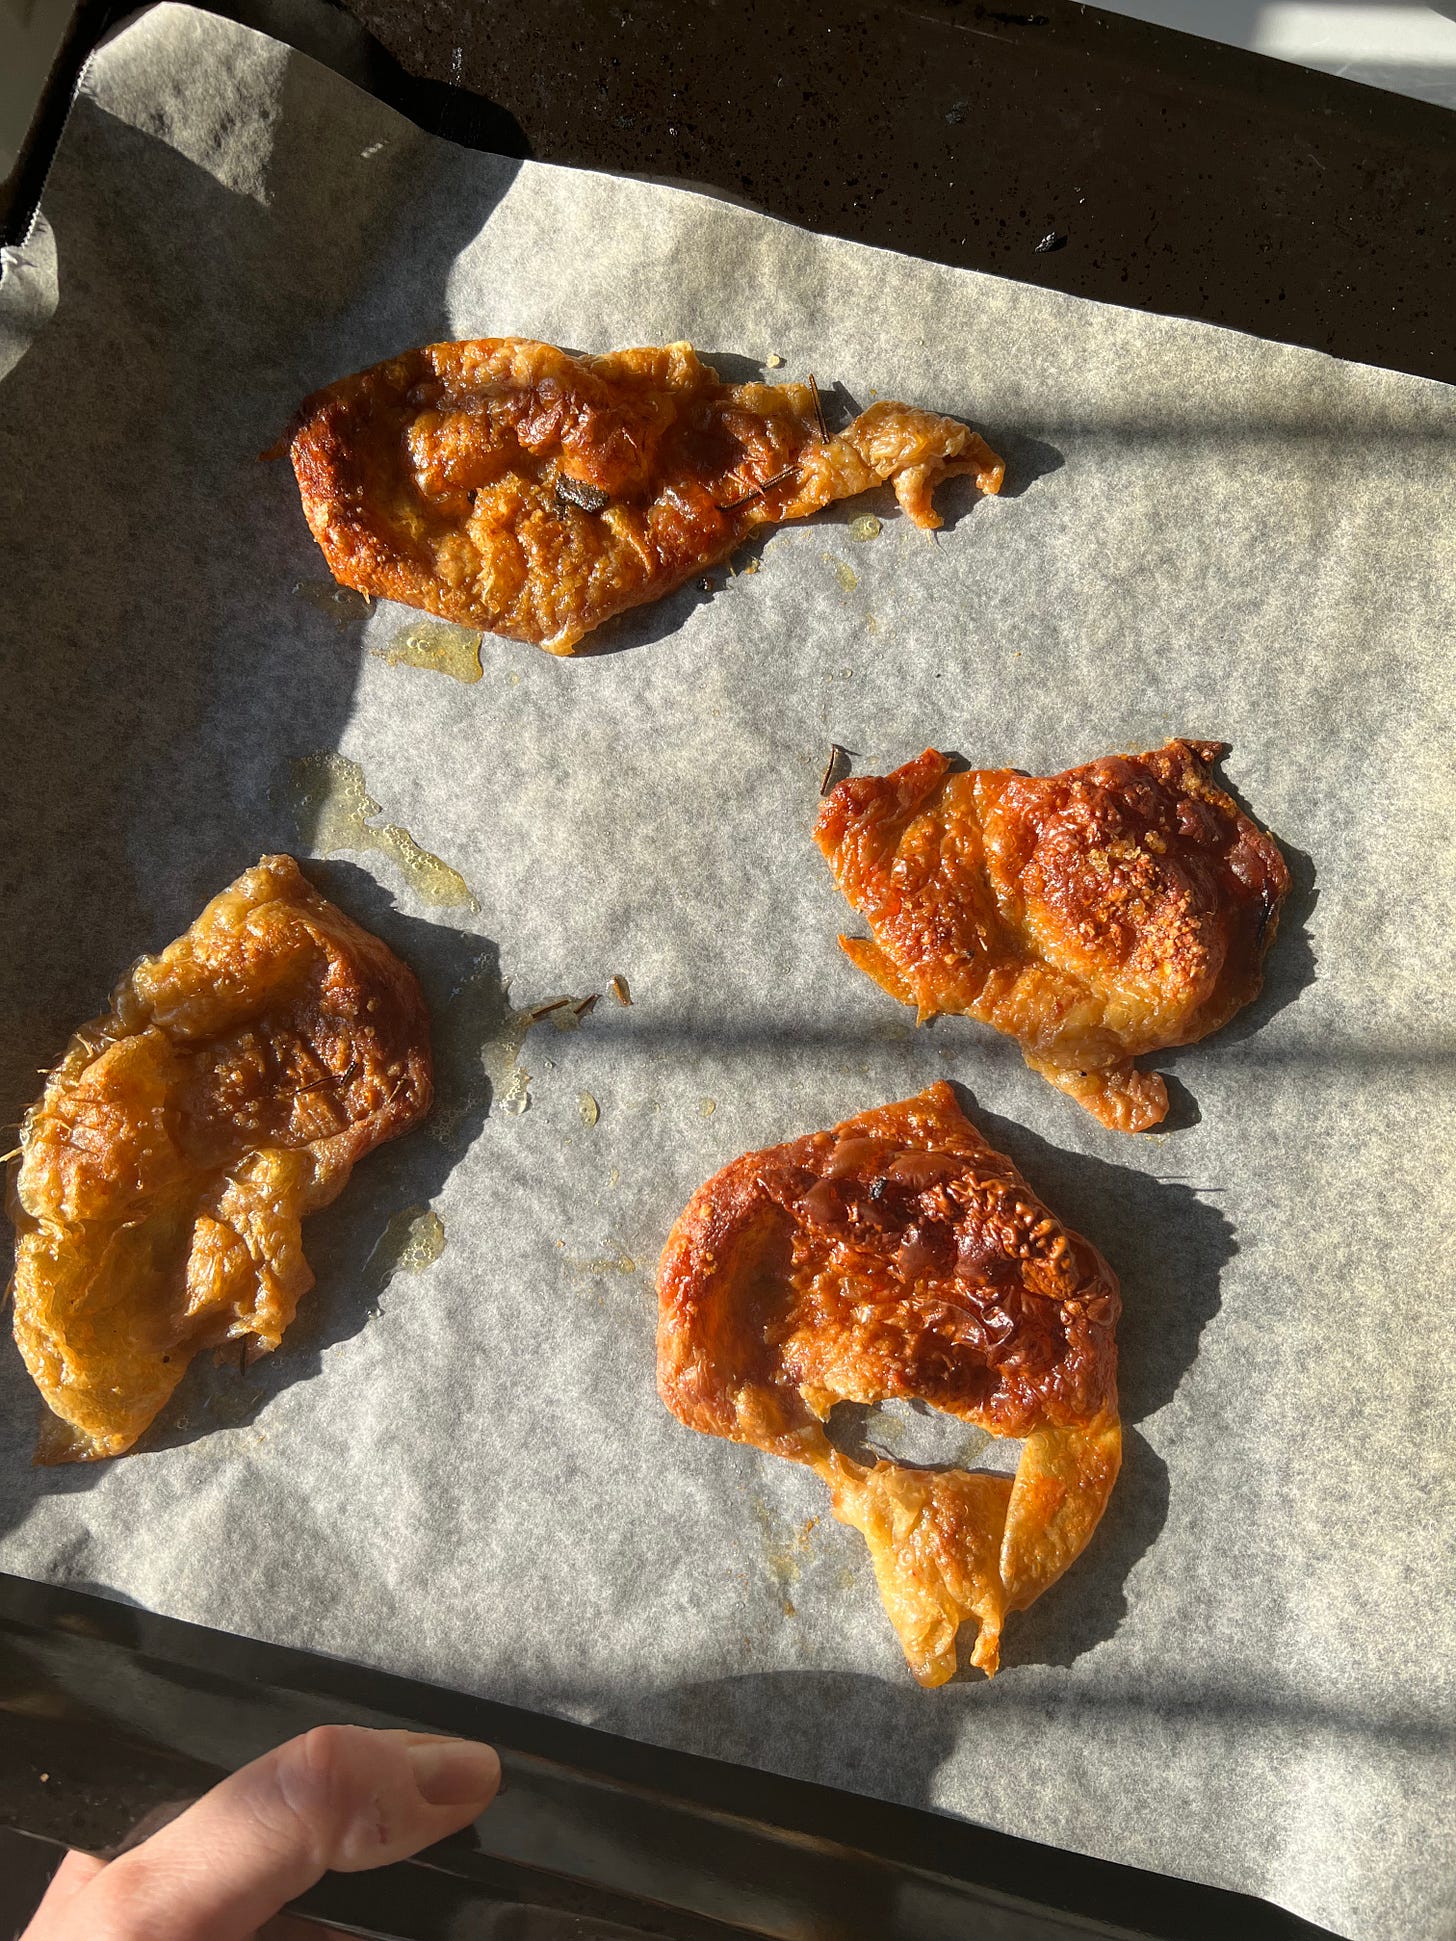
Part 1a: Crispy Chicken Skin
Line a baking tray with baking paper, and pop the chicken skin back into the oven for about 10 minutes, until golden and crispy. Set aside and cool down on a paper towel to absorb excess grease.


